DIY Jar Labels Made with Packing Tape and Paper
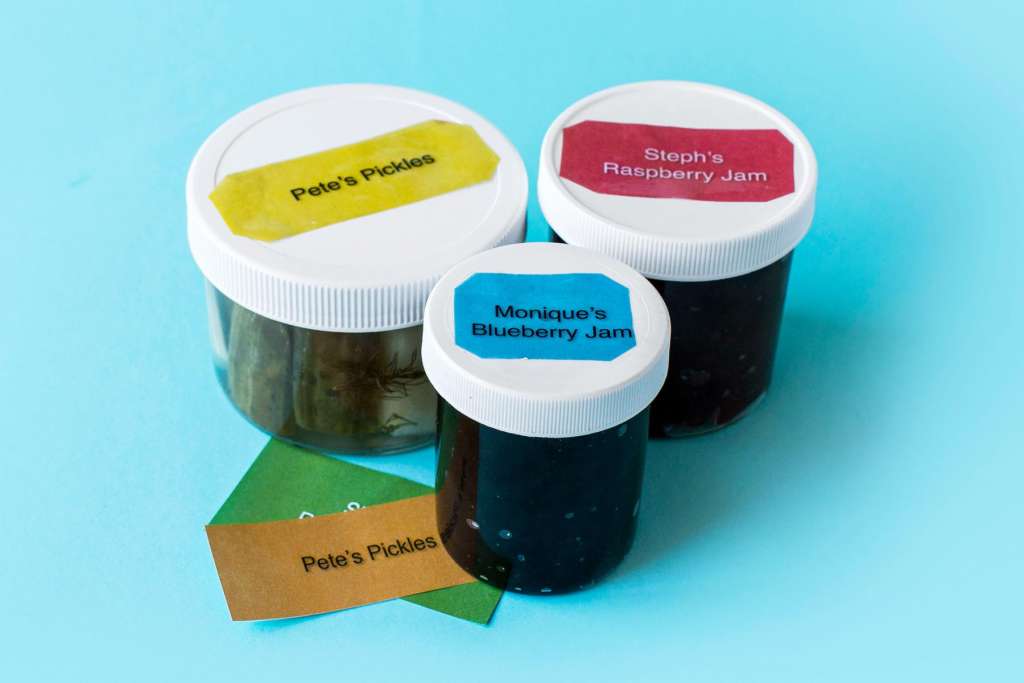
Make your own labels for summer preserves or quick pickles with heavy-duty packing tape and images you print on your home computer. When you place clear packing tape over black and white or color photocopies or laser prints, the adhesive literally pulls off the ink, leaving a transparent image on the tape when you soak away the paper.
Materials
Heavy-duty packing tape
Jars
From your home office
Computer
Printer paper
Color printer
1. Print the words or image for your label
Using a computer, make a text box and type the words for your label inside of it. Print using a color printer. You can add color to the background of the textbox if you like. Keep the width of the tape and the size of your jar in mind when sizing your words.
2. Cut the tape and apply it to the image
Cut a piece of clear packing tape roughly the size of your label and press it over the printed image. Smooth the tape with your fingers to remove any bubbles or creases. Trim the paper if necessary.
3. Soak the label and rub away the paper
Put the label in a shallow bowl of warm water with the glossy side down and the paper facing up. Let soak for 1 to 2 minutes, then rub away the paper with your fingers.
4. Dry the labels and stick them on the jars
Transfer the tape to a flat surface and let dry. The tape will regain its stickiness as it dries. Adhere the labels to your jars.
